
Send customer emails from your own domainBeta
Verify your company's email domain, then choose it as the sender in customer email previews.
By default, customer emails go out from a solarOS address, with your company name in front, such as "Your Company via solarOS". Once you verify your own domain, you can send quotes, agreements, scheduling emails, and more from an address like service@yourcompany.com. Contact solarOS support to turn it on for your company.
What changes and what doesn't
Your domain is used for emails you review in a customer email preview before sending. You choose the sender by type of email:
- Quotes, agreements & plan offers
- Scheduling & service reports
- Payment receipts
- Monitoring outreach
- Default sender, for everything else with a preview
Emails without a customer preview, such as team invitations, password resets, and notifications, always come from solarOS. Every preview also keeps solarOS as an option.
Before you start
- You need a role that can manage sender identity, such as Owner or Admin.
- You need a domain your company owns, and someone who can add records at the domain's DNS provider. Personal mail domains such as gmail.com and outlook.com can't be used.
- If the domain already receives email, keep its existing mail records. You only add the new ones.
Add your domain and verify it
-
Go to Settings → Communications → Email domains.
-
Click Add domain.
-
In the Add domain dialog, enter your domain, such as
yourcompany.com, and click Add domain. Enter the domain only, not an email address.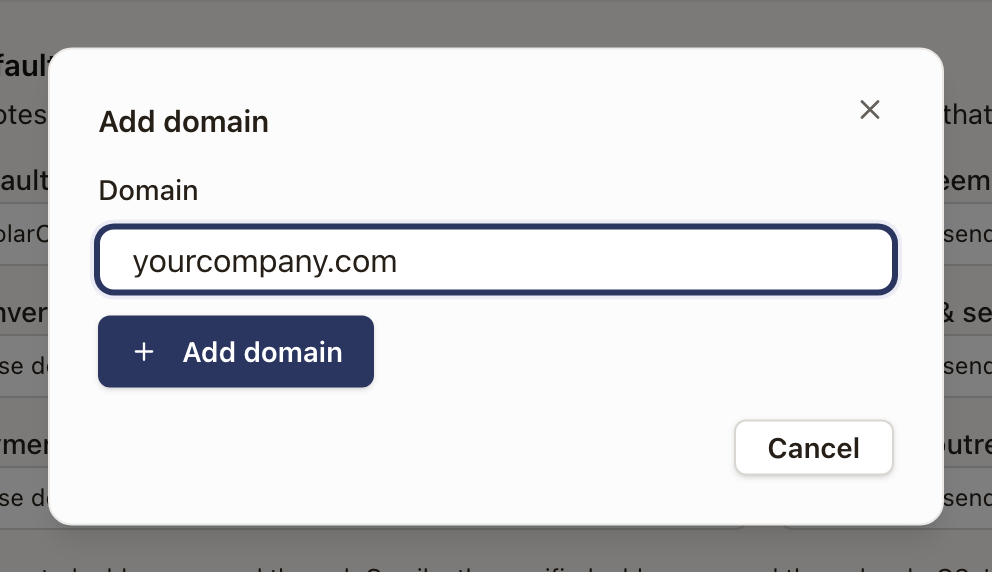
-
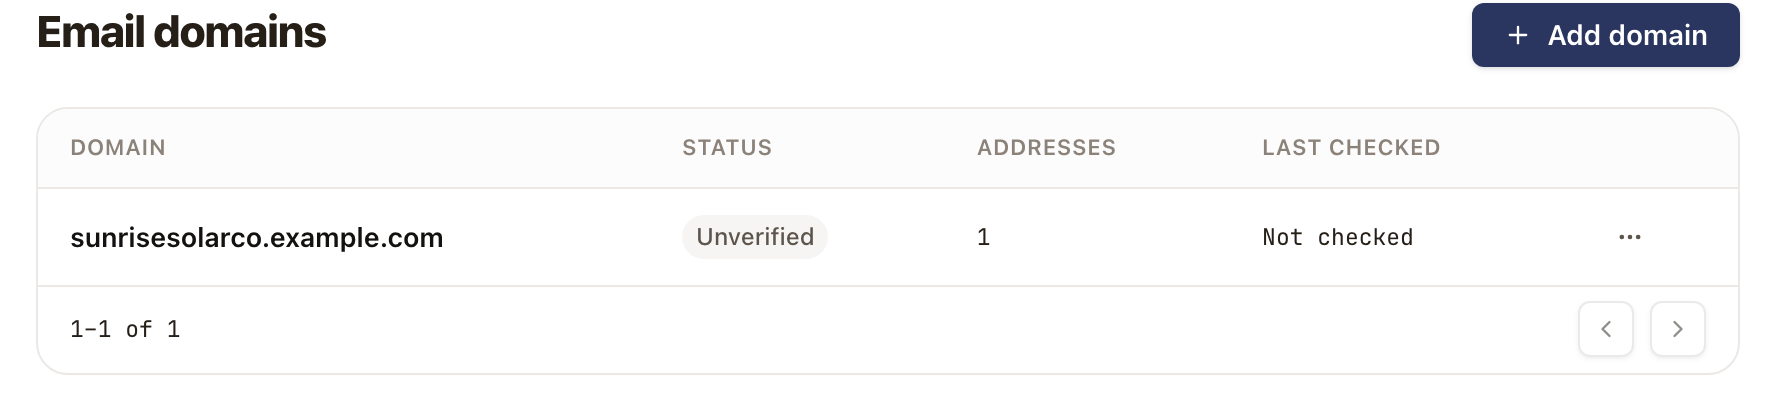
The domain appears in the list with the status Unverified.
-
Click the domain to open its panel, then click Start verification. solarOS lists the DNS records for the domain in a DNS records table with Type, Host, Value, Priority, and Status.
-
At your DNS provider, add each record. Click Copy next to a value to copy it exactly.
- Host is the full name. If your provider adds your domain automatically, enter only the part before the domain.
- Include the Priority for MX records.
-
Click Check again. Verification can take up to 72 hours. The domain's status reads Unverified, Pending, or Verified.
DMARC is recommended for email protection but isn't needed to verify. Ask whoever manages your DNS before adding or changing a DMARC policy.
When the status is Verified, click Send me a test in the domain's panel to receive a test email at your own address.
Add shared addresses
A shared address is a sending address on your domain, such as support or service. It sets who the email comes from. It doesn't create an inbox, so replies go to the reply-to address.
-
Open the domain's panel. Under Addresses, enter the part before the @, such as
service. -
Click Add address.
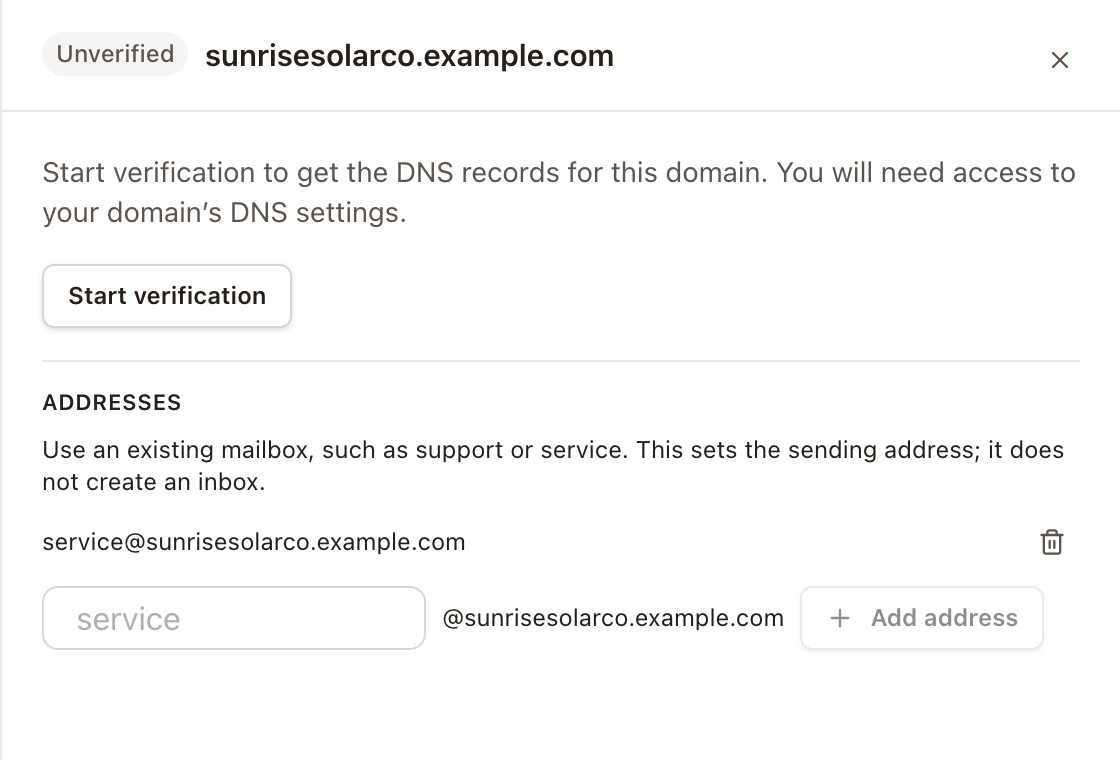
To remove an address, click the trash can beside it.
When a domain is verified, team members whose sign-in email is on that exact domain can also send as themselves.
Choose the sender
Once you have a shared address, Defaults by email type appears under your domains.
- For each type of email, open the list and choose a shared address or solarOS. Every type except Default sender also offers Use default sender.
- The change saves on its own.
Sales emails start with the person sending, when their sign-in email is on a verified domain. Other emails use the sender you chose.
You can also change the sender on each email. In a customer email preview, such as Send Quote, the From field becomes a list when more than one sender is available. Choose the address you want, then send as usual. When only solarOS is available, From shows the solarOS address and can't be changed.
Remove a domain
- Open the domain's panel and click Remove.
- Click Remove domain to confirm, or Keep domain to cancel.
The domain and its shared addresses are removed, and emails that used them go out from solarOS.
Check it worked
- The domain's status reads Verified, and every record in the DNS records table is verified.
- Send me a test arrives in your inbox from your domain.
- A customer email preview shows your address in From.
- Settings → Communications → Email log lists each email. Open a row to see the address it was sent from.
Common problems
- The status says Records missing. A DNS record was removed or changed. Restore the records in the table, then click Check again. Until it's verified again, emails go out from solarOS.
- The status stays Pending. DNS changes can take up to 72 hours. Check that each value was copied exactly, then click Check again.
- An address shows as awaiting verification. The domain isn't verified yet. Emails choosing that address go out from solarOS until it is.
- The page says custom sending domains aren't enabled. Contact solarOS support.